Indoor Plant Care for Beginners: Start Here
Indoor plant care comes down to four decisions, and they happen in a fixed order. First, read how much light the spot actually gets. Second, choose a plant that matches that light. Third, make sure the pot has a drainage hole. Only then does watering matter, and the rule there is to check the soil rather than follow a calendar: water when the top one to two inches feel dry. Most first houseplants are lost to overwatering or to a spot that was always too dark, not to neglect.
That order is the part almost every beginner guide leaves out. Light and plant choice are decided once, at the start, and they quietly set how hard everything afterward will be. Watering is the thing you do fifty times a year, so it gets all the attention, but it is the fourth decision, not the first.
The short answer: four decisions, in this order
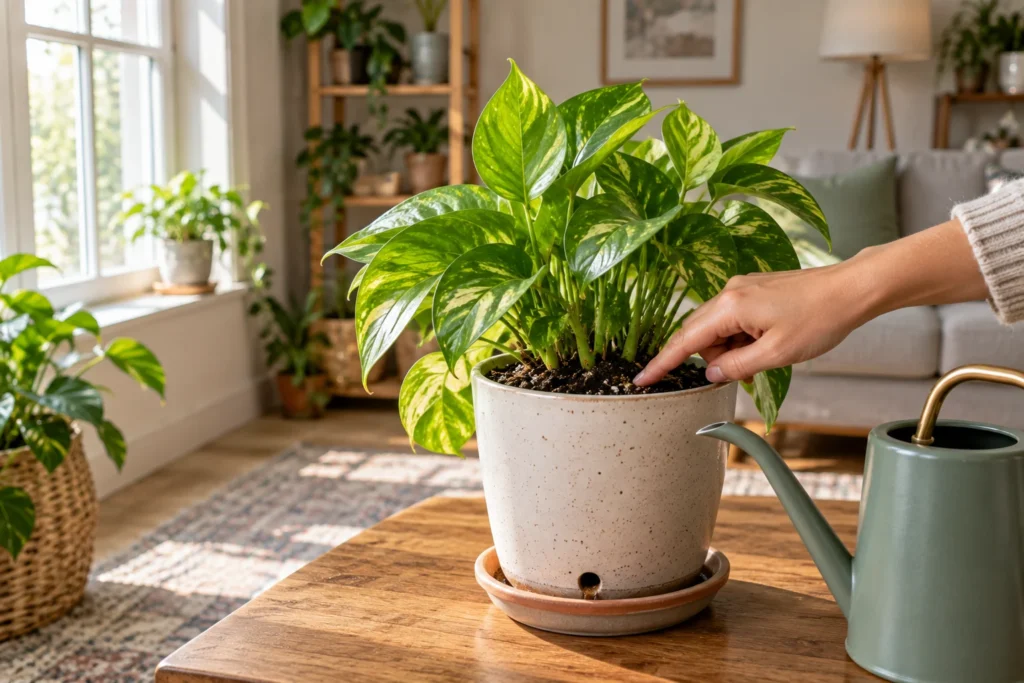
Think of it as a sequence where each step narrows the next.
- Where will the pot sit, and how bright is that spot really? Rooms almost always feel brighter to a person than they are to a plant.
- Which plant tolerates that light? Matching the plant to the room is easier than fixing the room for the plant.
- Can water get out of the pot? A pot with no drainage hole undoes every other good decision.
- When do you water? When the soil tells you to, not when the week does.
Get the first three right and the fourth becomes forgiving. Get the first three wrong and no watering technique will rescue the plant.
Step 1: read the light before you buy anything
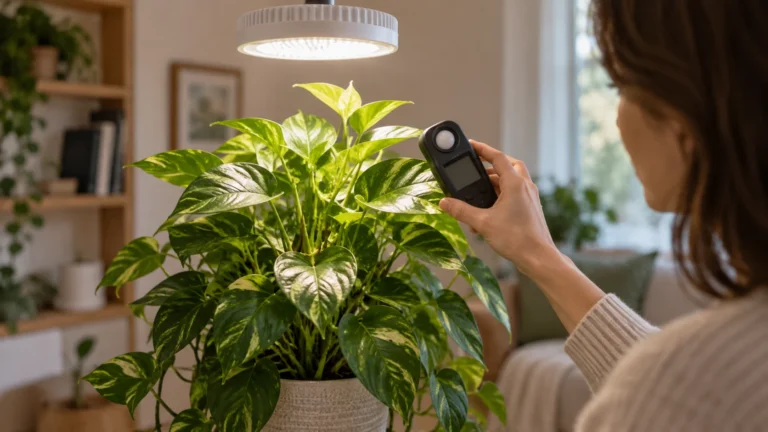
Human eyes adjust to dim rooms so well that we badly overestimate indoor light. The fix is to stop judging by feel and judge by shadow and by window direction instead.
Hold your hand about a foot above the spot at midday on a clear day and look at the shadow it casts. A sharp, dark shadow with crisp edges means direct sun. A soft shadow with fuzzy edges means bright indirect light, which is what most common houseplants want. A shadow you can barely see means low light, which is a real condition that some plants tolerate and many do not.
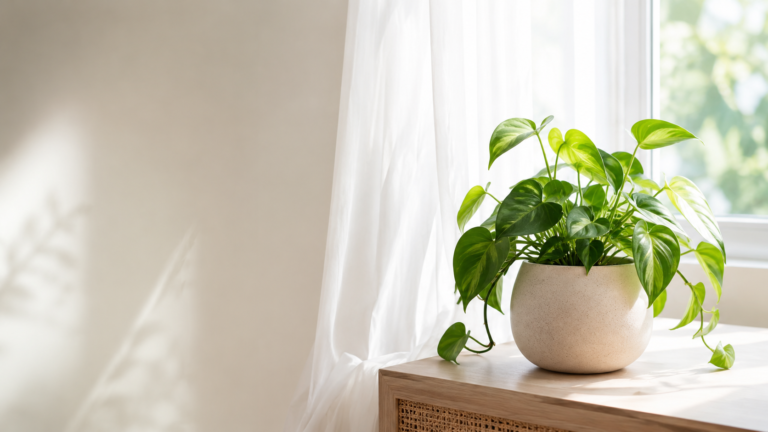
Window direction matters just as much. In the northern hemisphere, south-facing windows get the strongest and longest sun, east-facing windows get gentle morning sun, west-facing windows get hot afternoon sun, and north-facing windows get no direct sun at all. Distance changes everything too: light falls off sharply as you move away from the glass, so a plant six feet into the room is in a very different world from one on the sill. Our guide to bright indirect light walks through the shadow test and the window-direction map in detail.
Step 2: choose a plant that matches that light
This is where beginners are set up to fail by the shop rather than by themselves. A plant is sold because it looks good, not because it suits the corner you had in mind.
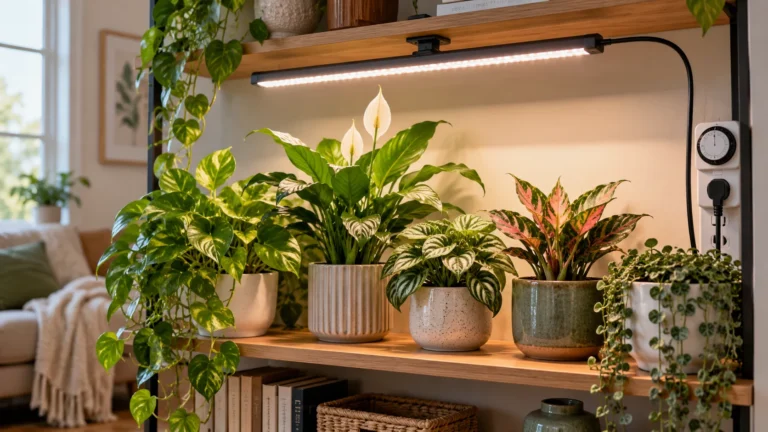
For a bright indirect spot, most of the popular foliage plants are fair game. For a genuinely dim corner, the honest list is short: snake plant, ZZ plant, pothos, philodendron and cast iron plant are the usual survivors, and "tolerates low light" means they will live there, not that they will grow quickly there. Expect slower growth and less new foliage in a dark spot, and understand that this is normal rather than a sign you are doing something wrong. Our roundup of the best low-light indoor plants for beginners covers what each one actually needs.
One more filter worth applying: how forgiving is the plant of an occasional missed watering? Plants that store water in thick leaves or stems, such as snake plants and ZZ plants, shrug off a forgotten week. Thin-leaved tropicals like calatheas and ferns do not. For a first plant, forgiveness is worth more than beauty.
Step 3: the pot has to drain
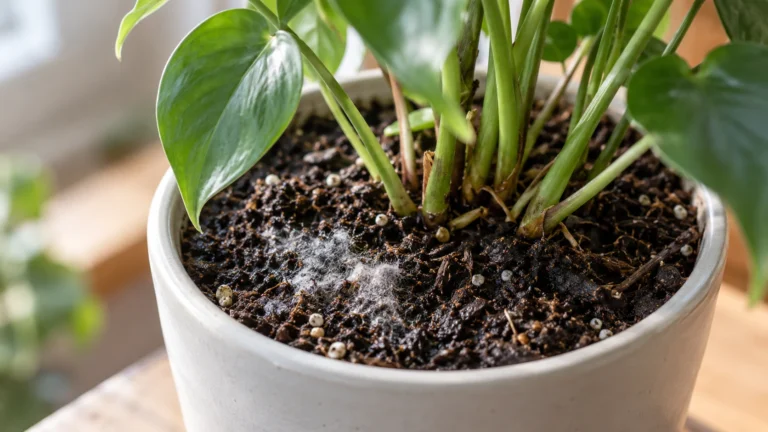
This is the one non-negotiable, and it is also the most common hidden reason a plant keeps dying for no visible cause. If water cannot escape, the bottom of the root ball stays saturated even when the surface looks and feels dry. The finger test then reads "dry" and you water again, and the roots underneath never get a chance to breathe.
The University of Wisconsin-Madison Plant Disease Diagnostics Clinic is direct about this: the fungi that cause root rot prefer wet soil conditions, so the guidance is to use a pot with drainage holes, not to over-water, and never to let a plant sit in its own drainage water. The clinic also recommends a pasteurized commercial potting mix rather than soil dug from a garden, which can carry those organisms in.
If you love a decorative pot that has no hole, you do not have to give it up. Keep the plant in its plastic nursery pot, set that inside the decorative one, and lift it out to water. Tip out anything that collects in the bottom afterward.
Step 4: water by checking, not by schedule
There is no universal number of days. Push a finger about two inches into the soil, and water only if it comes out dry at that depth. If it feels cool, damp or clingy, wait and check again in a day or two.
The University of Maryland Extension states the principle plainly: houseplants should not be watered on a schedule but rather when they need it, and when you do water, water until it drains freely from the bottom of the container. Iowa State University Extension adds the safety rule that makes this beginner-proof: if you question whether the soil is dry, wait at least one more day.
When you do water, soak the whole root ball until water runs out of the drainage holes, let it finish dripping, then empty the saucer. Deep and occasional beats little and often. For the full method and the factors that change your timing, see how often to water indoor plants, and for the physical checks themselves, how to tell if your plant needs water.
The settle-in period: what to do for the first month
Here is the part the retailer guides skip, and it saves a lot of plants. A new plant has just moved from a greenhouse with controlled light and humidity into your living room. It will react to that, and the reaction looks alarming.
Expect some leaf drop, some drooping, or a yellow lower leaf or two in the first few weeks. That is usually acclimation, not damage. The correct response is almost always to do nothing beyond the basics.
For the first month:
- Do not repot it. The nursery pot is fine. Repotting stacks a second shock on top of the first.
- Do not fertilize it. A plant that is not actively growing cannot use the feed, and unused fertilizer salts build up in the soil.
- Do not keep moving it. Pick the best spot you can and leave it there for at least a few weeks so it can adjust to one set of conditions.
- Do check the soil weekly and water only when the check says to.
Resist the urge to intervene. Most beginner damage comes from doing more, not less.
Feeding, humidity and cleaning, ranked by how much they matter
Beginner content tends to present every care task as equally important. They are not close to equal.
Feeding matters least, and it is easy to overdo. Houseplants in fresh potting mix have enough nutrients for months. Feed only during the active growing season of spring and summer, only on soil that is already damp, and only at the strength the product label states. Never increase a dose to try to fix a sick plant, because excess fertilizer salts in the soil are themselves a cause of brown leaf tips, according to Iowa State University Extension.
Humidity matters for some plants and not at all for others. Snake plants, ZZ plants and pothos are content in ordinary room air. Calatheas, ferns and other thin-leaved tropicals notice dry air quickly, especially in winter when heating runs.
Cleaning matters more than people expect and costs nothing. Dust on leaves blocks light. Wiping foliage with a damp cloth every few weeks is one of the cheapest things you can do for a plant in a dim room.
The beginner routine at a glance
| How often | What to do | Why it matters |
|---|---|---|
| Weekly | Check the soil at the same time each week; water only if the top one to two inches are dry | Turns watering into a decision instead of a habit |
| Weekly | Glance at the undersides of a few leaves | Pests are far easier to deal with when caught early |
| Monthly | Empty and wipe out saucers and decorative outer pots | Standing water is the main road to root rot |
| Every few weeks | Wipe dust off the leaves | Dust blocks the light the plant is already short of |
| Spring and summer only | Feed at label strength on damp soil | Fertilizer helps growth; it never fixes a problem |
| Seasonally | Reduce watering in fall and winter | Slower growth means less water used |
Something already looks wrong: where to go next
If your plant is not thriving, do not start by changing everything at once. Change one thing, then wait two weeks. Use the symptom to pick a starting point.
| What you are seeing | Most likely place to start |
|---|---|
| Leaves going yellow | Why houseplant leaves turn yellow |
| Whole plant limp and drooping | Why is my plant drooping |
| Brown, dry tips on otherwise green leaves | Brown tips on houseplant leaves |
| Whole leaves going brown and crisp | Leaves turning brown and crispy |
| Leaves rolling or curling inward | Why plant leaves curl |
| Soggy soil, a sour smell, and a plant that wilts anyway | Root rot signs and rescue |
| Not sure whether it is too much or too little water | Overwatered vs underwatered |
If none of that fits, the general pattern list in beginner houseplant mistakes is a good sweep for something you have not thought of.
Which mistakes you can come back from, and which you cannot
Not every error is equal, and knowing the difference takes a lot of the fear out of this.
Usually recoverable: a missed watering, even several. A plant that wilts from thirst normally recovers within hours of a proper soak. Also recoverable are a slightly wrong feed, a dusty plant, a few weeks in a spot that was too dim, and a cosmetically damaged leaf. A leaf that has browned will not turn green again, but the plant is not harmed by it.
Hard to recover from: sustained overwatering, especially in a pot without drainage. By the time the leaves look wrong, roots have often already rotted, and rotted roots cannot take water up at all. This is why the safe instinct is to wait when you are unsure.
Not recoverable: a plant kept for months in light it fundamentally cannot live in. It will decline slowly and no amount of watering care will change that. The fix is to move it or to accept the spot needs a different plant.
Losing a plant while learning to read soil and light is ordinary, not a verdict on you. The check-first habit is the whole skill, and it takes about ten seconds a week.
Frequently asked questions
How often should I water a new houseplant? Check weekly and water only when the top one to two inches of soil feel dry, which in many homes works out somewhere between every 7 and 14 days. Light, pot size, pot material and season all shift that, so the soil check is what decides rather than the calendar.
What is the easiest indoor plant for a total beginner? Snake plants, ZZ plants and pothos are the most forgiving of the three things beginners get wrong most often: irregular watering, low light and dry air. All three store water and tolerate a missed check.
Do I need to fertilize my houseplants? Not at first. Fresh potting mix carries enough nutrients for months, so hold off for the first few months and then feed only during spring and summer, at the strength stated on the product label, on soil that is already damp. Excess fertilizer salts are a known cause of brown leaf tips.
My new plant is dropping leaves. Did I kill it? Probably not. Some leaf drop in the first few weeks after a plant comes home is normal acclimation to a new light level and humidity. Keep conditions steady, check the soil rather than watering on reflex, and give it a month before changing anything.
Can I use a pot without a drainage hole? It is far safer not to. If you want the look, keep the plant in a plastic nursery pot and drop that inside the decorative one, then lift it out to water and pour away anything left standing. Root-rot organisms thrive in waterlogged soil, and a sealed pot is the easiest way to create it.