Grow Light Burning Plant Leaves? Bleaching Explained
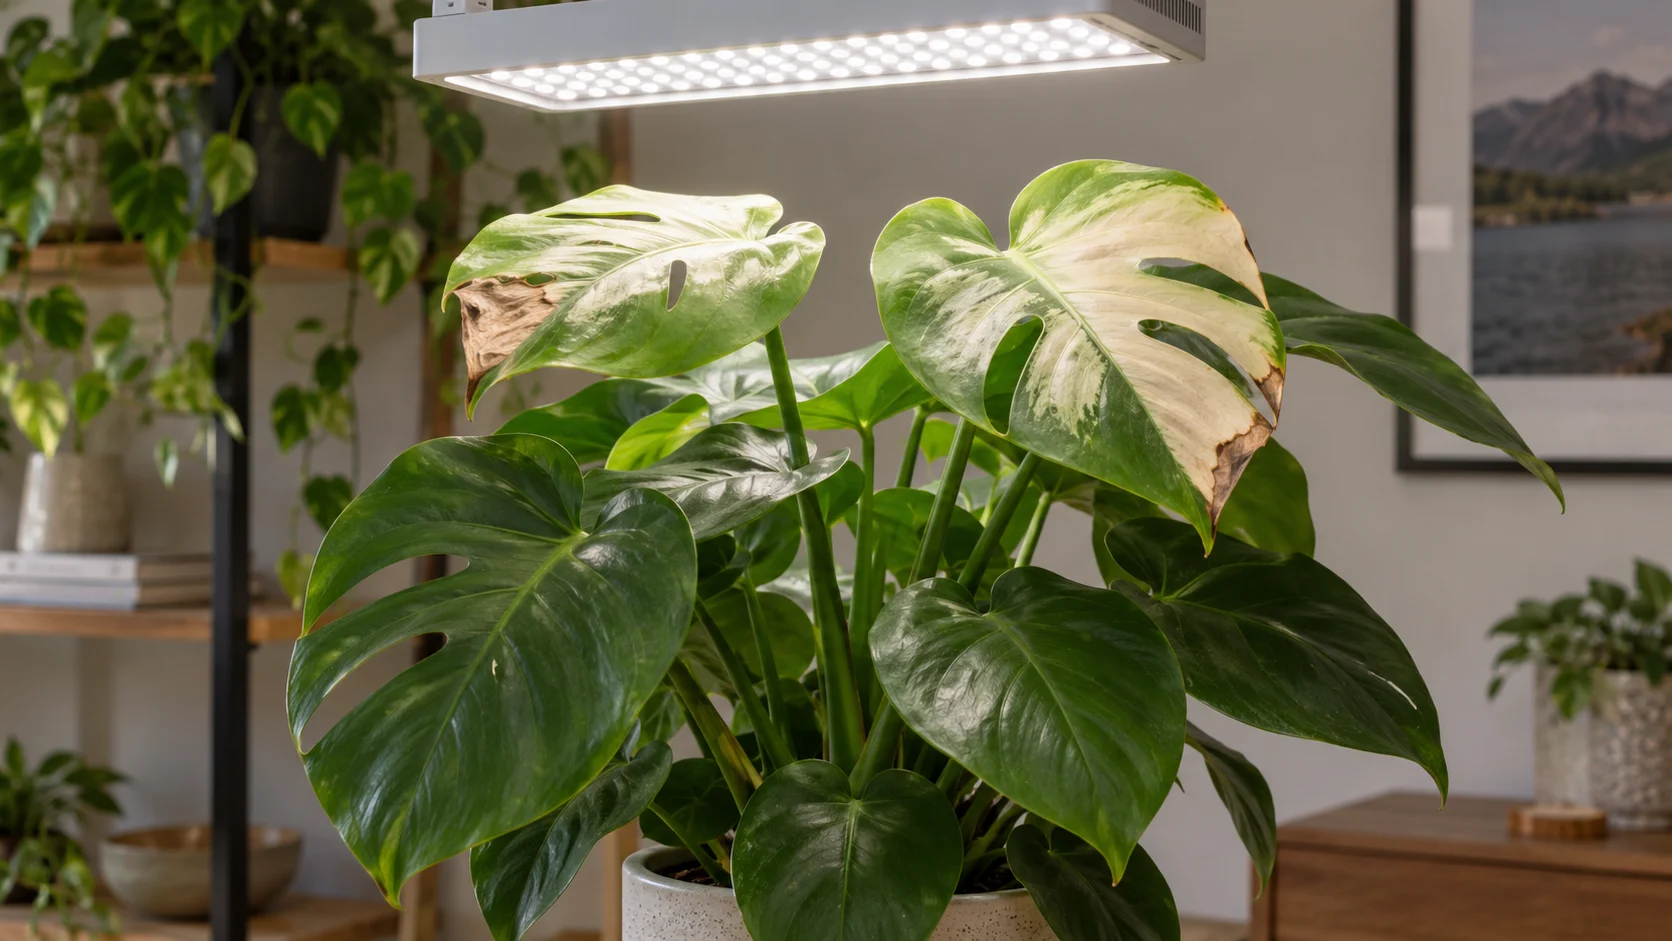
Pale, washed-out or almost white patches on the leaves closest to the fixture, appearing after you added a light or moved it nearer, are light damage rather than hunger. University of Maryland Extension describes the same injury from strong sun: damage appears as pale, bleached or faded areas that eventually become brown and brittle, and the cause is the breakdown of chlorophyll in the leaf. Nebraska Extension puts it the same way, noting that light which is too intense causes pale patches that eventually turn brown and die. The fix is to reduce the light reaching those leaves, usually by raising the fixture in small steps, and then to judge the result by new growth rather than by the damaged leaves, which do not recover.
Why It Is Called Burning When Nothing Is Hot
The everyday name for this is light burn, which points at the wrong mechanism and sends people looking for heat.
Heat damage is real: a leaf pressed against a fixture housing will cook, and that is a separate problem with an obvious cause and an obvious fix. But the more common injury under a modern LED fixture happens on leaves that are nowhere near warm. The leaf is simply receiving more light energy than its photosynthesis can use. The excess has to go somewhere, and some of it damages the pigments doing the work, so the green fades out of the tissue. Growers call the result photobleaching, and the visible outcome is the pale patch University of Maryland Extension describes.
That matters practically for one reason: you cannot rule this out by touching the leaf. A cool leaf directly under a bright fixture can still be bleaching.
The Pattern That Identifies It
Light damage under a fixture has a geometry, and the geometry is the diagnosis.
- It starts at the top. The leaves nearest the light go first. Lower and inner leaves, shaded by the ones above them, stay normal, which produces a plant that looks faded on top and healthy underneath.
- It follows the fixture, not the plant. The affected leaves are the ones directly beneath the lamp or nearest the middle of the lit area. Plants at the edge of the same shelf are often untouched.
- Whole areas fade together, veins included. The pale patch is uniform. The veins in it do not stay green.
- It has a start date. It appears after something changed: a new fixture, a fixture lowered, a plant repositioned into the middle of a shelf, or simply a plant that has grown several inches taller and closed the gap by itself.
- Pale comes before brown. The tissue fades first and only later turns brown and brittle, which is the progression University of Maryland Extension records.
If the pale areas are on the side of the plant that faces a window rather than the top, you are looking at the same tissue damage from a different source, and leaf scorch and sunburn on houseplants covers that version, including how to acclimate a plant to a brighter spot without repeating the injury.
Light Damage or a Nutrient Problem? The Difference Is in the Veins
This is the fork people get wrong, and getting it wrong is expensive, because the instinctive response to a pale plant is to feed it.
| What you see | Most likely | Why |
|---|---|---|
| Uniform pale or bleached patches, veins pale too, on the topmost leaves nearest the light | Light damage | Follows the fixture's geometry and starts after a light change |
| Yellow leaf tissue with the veins still green, worst on the newest leaves | A nutrient or root problem | Iowa State University Extension describes iron deficiency as interveinal chlorosis on the newest leaves, where leaf tissue turns yellow while the veins stay green because iron does not move within the plant |
| Even yellowing of the oldest, lowest leaves, working upward | Something other than the light | The wrong end of the plant for a fixture that sits above it |
| Brown, crisp leaf margins and tips, often with a crust on the soil surface | Fertilizer or salt injury | A different mechanism with its own signs, covered in fertilizer burn on houseplants |
The vein test is the useful one. Light damage bleaches everything in the patch. A nutrient problem leaves a green skeleton behind.
There is one more trap worth naming. Iowa State notes that high pH, overwatering, low temperatures and root damage can all produce symptoms identical to an iron deficiency, so a plant that looks hungry is often not hungry at all. Feeding a plant whose real problem is either too much light or too much water adds salt to soil the roots are already struggling in. If your plant's yellowing does not match the light-damage pattern above, why houseplant leaves turn yellow works through the full list of causes in order.
What to Change, in Order
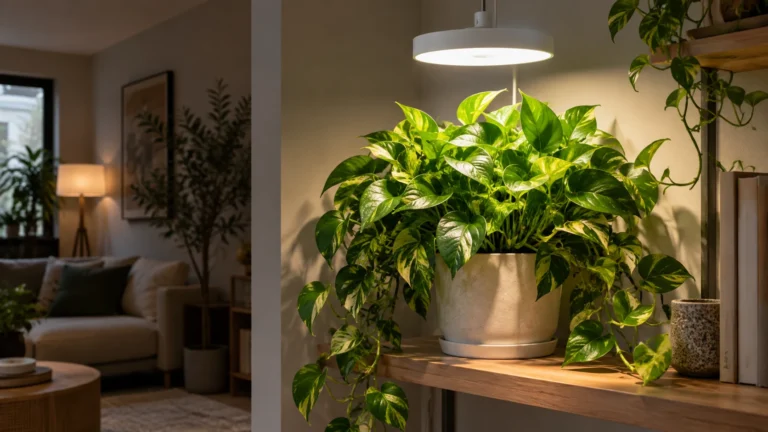
1. Increase the distance, in steps. Height is the strongest and cheapest control you have, because intensity falls away quickly as light travels. Mississippi State University Extension's measured example gives the scale: two 40 watt fluorescent lamps produced roughly 500 foot-candles at 6 inches and about 100 foot-candles at 30 inches. Raise the fixture by a few inches, leave it for a week or two, and look at the newest leaves before moving it again. We are deliberately not naming a safe height, because a safe height for one fixture is a starving height for another, and any distance figure quoted without the fixture it was measured on is meaningless. Grow light distance from plants covers how to find yours.
2. Or move the plant sideways. If the fixture cannot be raised, the middle of the lit area is the brightest part of it. Moving a sensitive plant toward the edge, and putting a tougher plant in the middle, achieves the same thing for free.
3. Or dim it, if the fixture allows. A dimmer changes the intensity at any given height, which is the thing distance was standing in for. Note that a maker's published output figures usually assume full power, so a dimmed fixture no longer matches its own specification.
4. Then check the hours. Total daily light is intensity multiplied by run time, so a fixture that is only slightly too bright becomes clearly too bright at 18 hours. University of Maryland Extension advises limiting exposure to no more than 16 hours daily, because plants require a period of darkness for proper development. How long to run a grow light each day has the published ranges.
5. Check the soil. University of Maryland Extension notes that scorch symptoms are more severe when strong light is combined with dry soil. A plant that is running dry under a bright fixture is being stressed twice, and the watering half is the easier one to fix.
6. Do not reach for fertilizer. Pale leaves trigger the feeding instinct, and it is the wrong move here. Fertilizer does not restore bleached tissue, and it adds salts to the root zone of a plant that is already under stress.
What Recovery Actually Looks Like
The bleached tissue does not turn green again. That is disappointing and it is not a sign the plant is failing.
What you are watching for is the next generation of leaves. If the new growth that emerges after you raise the fixture comes in normally colored and at a normal size, the problem is solved and the old leaves are simply a record of it. Leave a damaged leaf on the plant unless it is mostly brown, because even a faded leaf contributes something while its replacement grows.
Give it a stretch of the growing season rather than two weeks. If new leaves keep coming in bleached after you have raised the light, the fixture is still too close or too long on for that plant, and the next step down is another few inches or an hour or two off the timer.
And if the plant stops bleaching but also stops improving, the question flips from too much light to whether the fixture is delivering anything useful at its new height. How to tell if a grow light is actually working is the arithmetic and the plant test for that.
When It Is Not the Light at All
Three checks worth running before you blame the fixture.
- A plant that has just been moved or repotted may be showing transplant stress rather than light injury, and the timing is the giveaway.
- A plant that is bleaching from the bottom up is not being damaged by something above it.
- A plant with pale new growth and green veins, in a pot that stays wet for a long time, is more likely telling you about its roots than about its light.
Frequently Asked Questions
Can an LED grow light burn leaves even though it does not feel hot?
Yes. The common injury from a modern LED fixture is caused by light intensity rather than heat, so the leaf can be cool to the touch and still bleaching. Heat damage is a separate problem and it shows up where a leaf is actually touching the housing.
How close is too close for a grow light?
There is no universal answer, because it depends on how much light your particular fixture produces. Mississippi State University Extension puts plants under artificial light within 1 to 3 feet of the source as general guidance, and within any range the plant itself is the instrument: pale patches on the top leaves mean too close for that fixture and that plant.
Will bleached leaves turn green again?
No. The damaged tissue does not recover. New leaves that emerge after you reduce the light should come in normally, and that is the sign to look for.
Is yellowing under a grow light always the light's fault?
No, and the pattern tells you. Light damage is worst on the topmost leaves nearest the fixture and bleaches the veins along with everything else. Yellowing that starts on the lowest leaves, or that leaves green veins behind, points elsewhere.
Should I move the plant away from the light completely?
Usually not. Moving a plant from too much light straight into a dim corner trades one problem for another. Raise the fixture or shift the plant toward the edge of the lit area, then wait and watch the new growth.